


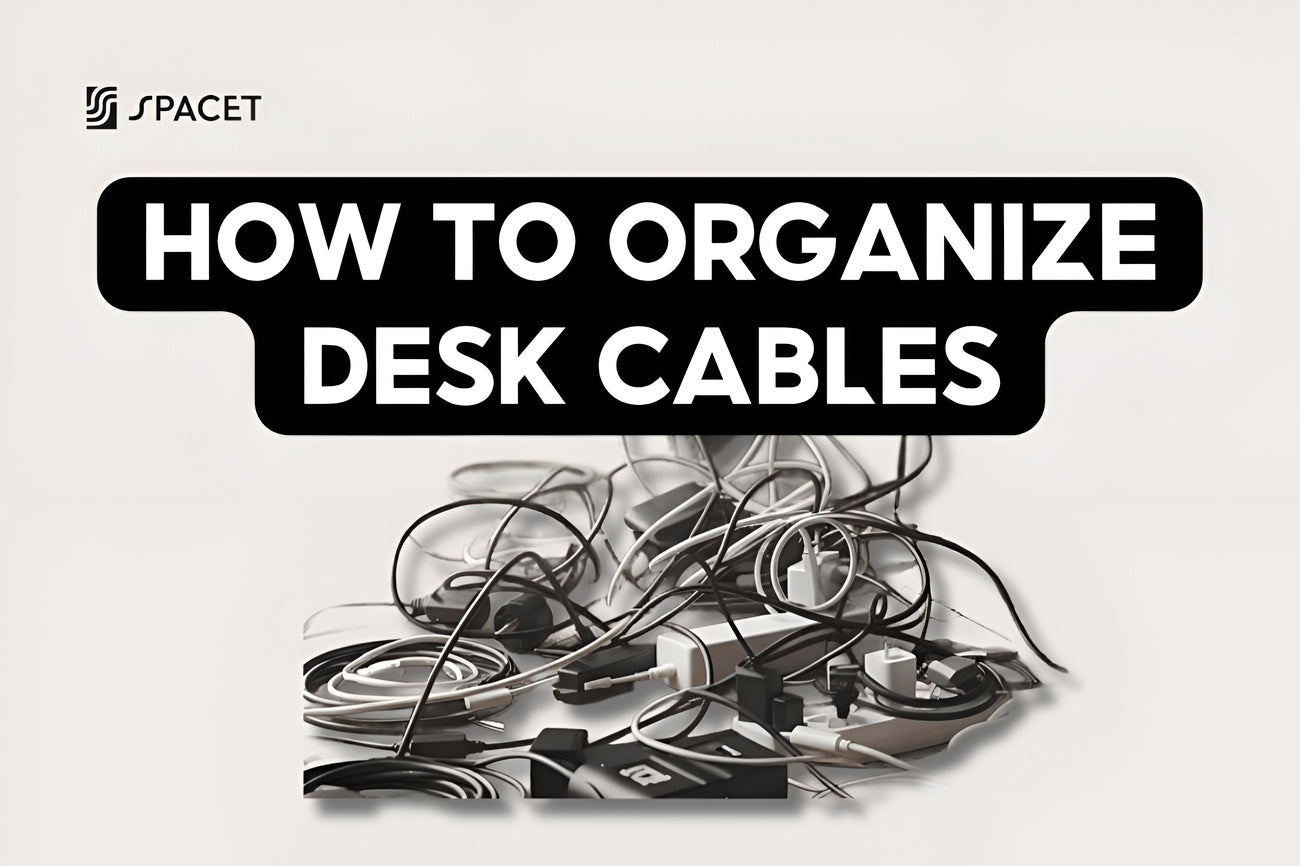
You spent time picking out every single accessory for your desk. The monitor, the keyboard, the little lamp in the corner. And then you look down, and there's a spaghetti pile of cables undoing all of it. Messy cables are probably the most common desk problem nobody talks about enough. At Spacet, we put together this guide to help you sort out cable management for your desk setup once and for all, in a way that actually sticks.
Why bother organizing desk cables?
Most people treat cable clutter as a purely visual problem. But it goes further than that. Tangled cables make it harder to find what you need, create tripping hazards, and can slowly damage connectors when cables get yanked or bent repeatedly. If you're on video calls or recording content regularly, a messy background also chips away at how professional you come across.
On the productivity side, a Staples survey cited in Impact of Cleanliness on the Productivity of Employees (Horrevorts & Van Ophem, 2018) found that 94% of employees feel more productive in a tidy environment, and 77% report better focus when their workspace is organized. A clean desk, free of cable chaos, genuinely helps your brain stay calmer and more focused throughout the day.
Step 1: Take everything out and do a cable audit
Before touching anything else, unplug every single cable and lay them all out in front of you. This step sounds tedious, but it's the most important one. When you see every cable at once, you'll almost always realize you've been plugging in way more than you actually need.
While you're at it, figure out:
- Which cables are actively in use, and which ones are just sitting there.
- Which cables look frayed, have bent connectors, or need replacing.
- Which devices could switch to wireless (mouse, keyboard, headphones) to cut down on cable count.
- Which cables get unplugged often versus which ones stay put permanently.

Once everything is sorted, you'll have a much clearer picture of what actually needs to be managed. This is also a good moment to label each cable, a small strip of colored tape or a tiny label around the connector goes a long way. It sounds like extra effort now, but it saves you from tracing cables one by one every time you need to swap something out later.
Step 2: Plan your cable routes before plugging anything back in
Don't rush to plug things back in. Spend a few minutes thinking through where each cable needs to go, what connects to what, what's the shortest path, and which routes keep cables out of sight. This is where good cable management for desk setup actually begins.
Some basic rules to follow:
- Route cables underneath or behind the desk, not across the surface.
- Group cables going in the same direction and bundle them together.
- Leave a little slack at points where things move, swivel monitors, adjustable chairs, laptops you pick up and carry.
- Keep power cables away from data cables where possible to avoid signal interference.

One thing worth knowing: cables that are longer than necessary are one of the biggest causes of desk clutter. Resist the urge to buy extra-long cables "just in case." Measure what you need, or fold and bundle any excess rather than letting it loop around freely.
Step 3: Pick the right cable management tools
This is where a lot of people get overwhelmed, there are so many products out there. The good news is you don't need all of them. You just need to know what each type is actually for.
Cable ties and velcro straps
Cable ties are the cheapest and most widely used option. They cinch multiple cables into a single bundle and hold tight. The downside is that they're hard to undo if you want to adjust things later. Velcro straps are the more flexible choice, you can open and re-close them as many times as you need, which makes them better for setups that change.
Cable sleeves and cable wraps
A cable sleeve is a flexible mesh tube you feed your cables through to turn several separate wires into one clean-looking bundle. Great for the run from your monitor down to the floor, or along a desk leg. Cable wraps (also called spiral wraps) coil around your cables from the outside, easier to put on and take off, but slightly less polished-looking than a sleeve.
Cable clips and cable holders
These are small clips or hooks that stick to the underside of your desk, along the desk edge, or down a desk leg to guide cables in a specific direction. Cable clips are essential if you want cables to sit flush against a surface instead of dangling freely. Versions with 3M adhesive backing work on most surfaces without drilling, and they peel off cleanly, useful for rented spaces or nice wooden desks you don't want to damage.
Cable trays and cable management boxes
A cable tray is a mesh or metal basket that mounts under your desk, giving you a place to park your power strip and hide all the excess cable length where it can't be seen from above. It's one of the most effective ways to hide desk cables completely. A cable management box serves a similar purpose but sits on the floor under your desk, you drop your power strip and adapters inside, put the lid on, and it disappears.
J-channel cable raceway
A J-channel raceway is a plastic channel (shaped like a "J") that runs along the desk edge or down a wall, with cables tucked inside and a cover snapped over the top. This is the cleanest solution for routing cables down to a wall outlet without them flopping around. Adhesive-backed versions don't require any drilling at all.
Desk cable management tips by location
On the desk surface
The goal here is simple: keep only the cables you actively plug and unplug on the desktop itself, things like a phone charger or a USB hub that you reach for daily. Everything else should be routed out of sight. Use cable clips along the desk edge to keep these surface cables from sliding around or getting tangled with each other.
If your monitor is sitting flat on the desk without any riser or shelf, that's where things tend to go sideways fast. When you elevate your monitor onto a desk shelf, the cables running behind it naturally disappear from the front view, the desk surface in front looks clean without any extra effort.
The Desk Shelf Pro v2.0 by Spacet is designed with enough clearance underneath to slide your keyboard in, while the monitor cables stay hidden in the back. It's one of those upgrades that quietly solves multiple problems at once.

Under the desk
This is where the real cable management for desk setup happens. The goal is to get all your power strips, adapters, and spare cable length off the floor and tucked up underneath the desk instead. Mount a cable tray under the desk surface, put your power strip in it, and use cable clips or velcro straps to route individual cables up to each device in a tidy, consistent path.
A tip that makes a bigger difference than it sounds: mount your power strip under the desk, not on the floor. When the power strip lives up there, you only need one main power cord running from the desk down to the wall outlet. Every other device cable stays above desk level and never touches the floor. That alone cuts visible cable count dramatically.
How to organize cables under desk along the floor-to-wall run
This is usually the trickiest section to tame, cables need to change direction as they drop from the desk down to the wall outlet. A J-channel raceway mounted along the desk leg or the nearest wall keeps this run clean and intentional. If drilling isn't an option, adhesive-backed raceway works on most wall surfaces and leaves minimal trace when removed.
Why a desk shelf is actually a cable management tool
Here's something that doesn't get talked about enough: even after you've done all the bundling and clipping, setups can still look busy if everything is spread out flat on one surface. When your monitor, speakers, USB hub, and other gear all live on the same plane, the cables connecting them have nowhere to hide.
A desk shelf shifts your thinking from "how do I hide these cables" to "how do I design the space so cables don't show up in the first place." By lifting devices to a second level, cables run behind the shelf structure and simply can't be seen from the front. For example, when your monitor sits on the AIRY Modular Desk Shelf by Spacet, the HDMI, DisplayPort, and power cables all tuck behind the shelf. Looking at the setup from the front, the desk looks completely clear.

The space under the shelf also becomes a natural home for your keyboard and a few small accessories. When devices are stacked vertically instead of spread horizontally, their cables separate naturally and become much easier to manage. This is a big part of why desk shelves show up in almost every minimal setup shared online.
>> Browse the full Desk Shelf System by Spacet to find the right fit for your setup.
Quick reference: Which tool to use for what
| Situation | Best tool |
| Bundling cables running in the same direction | Cable sleeve, velcro strap |
| Pinning cables along the desk edge | Adhesive cable clip |
| Hiding power strip and adapters | Cable management box, cable tray |
| Running cables down a wall to the outlet | J-channel raceway |
| Reducing cables visible on the desk surface | Desk shelf |
| Setup that changes frequently | Velcro strap, clamp-on cable tray |
| Can't drill or make holes | 3M adhesive clip, clamp-on tray, desk shelf |
Common cable management mistakes to avoid
Even people who've done this before tend to make the same few mistakes. They're easy to fall into, and they usually only show up as problems later.
- Tying cables too tight: The copper wires inside can degrade when a cable is bent sharply or cinched hard for a long time. This leads to intermittent signal issues or cables that stop working entirely, even though they look fine on the outside.
- Not leaving enough slack: Anywhere a cable connects to something that moves, a monitor on a swivel arm, a laptop you carry around, the cable needs a little extra length. A cable that's too tight will eventually pull on the connector and break it.
- Winging it without a plan: Plugging things in as you go usually means undoing and redoing most of it an hour later. Fifteen minutes of sketching out your cable routes upfront saves a lot of frustration.
- Buying too many tools: Most setups can be sorted out cleanly with a handful of velcro straps, a few cable clips, and one cable tray under the desk. You don't need a kit with thirty different types of accessories.
FAQs about desk cable management
What's the best place to start with desk cable management?
Velcro straps and adhesive cable clips cover the basics for most setups. Use velcro straps to bundle cables together, and cable clips to pin them along the underside of the desk. Once you've got the fundamentals sorted, you can add a cable tray or cable management box if you want to go further.
How to hide desk cables from my monitor?
The most effective way is to put your monitor on a desk shelf instead of directly on the desk surface. With the monitor elevated, the HDMI and power cables run behind the shelf where they can't be seen from the front. Without a shelf, your next best option is to run the cables down the monitor stand using cable clips, then bundle everything at the base with a velcro strap or sleeve.
Do I need to drill into my desk to manage cables properly?
No, you don't. 3M adhesive cable clips, clamp-on cable trays, and desk shelves all do the job without a single hole. They're reliable, removable, and won't damage your desk or walls, which makes them ideal for renters and anyone with a nice wooden desk they'd rather not drill into.
Why does my setup still look messy even after I've bundled the cables?
Usually it's because too many devices are still sitting on the same flat surface. Even neatly bundled cables can't completely hide when everything they connect to is spread out on one level. The fix is to bring some vertical structure into your desk, a shelf lifts your monitor and a few other devices up, which naturally keeps cables at the back and out of view.
Cable tie or velcro strap, which one is better?
Velcro straps are the better choice for most home and office setups because you can open and reclose them whenever you need to adjust something. Cable ties are cheaper and hold more firmly, but they're essentially single-use, once you cut one off, it's gone. Save cable ties for cables you're absolutely sure will never need to change.
My cables are already a complete mess. Where do I start?
Unplug everything and start fresh, it's genuinely faster than trying to untangle. Trying to pull one cable out of a tight knot usually makes it worse. Unplug each device, trace its cable, label it, and then re-route everything from scratch in a planned order. It takes maybe thirty to forty minutes and is much less frustrating than the alternative.
Wrapping up
Good cable management doesn't have to be complicated or expensive. With the right tools in the right places, a bit of planning upfront, and the right desk setup, you can go from a tangled mess to a clean, minimal workspace that actually feels good to sit at. The best cable setups aren't the ones where cables are hidden most cleverly, they're the ones designed so cables have nowhere obvious to be in the first place.
That's the idea behind every piece in Spacet desk shelf lineup. For more practical tips on building a workspace that works as good as it looks, check out the Spacet Blog, we cover everything from desk organization to ergonomics to setup inspiration.


Partager: